April 1st, 2005
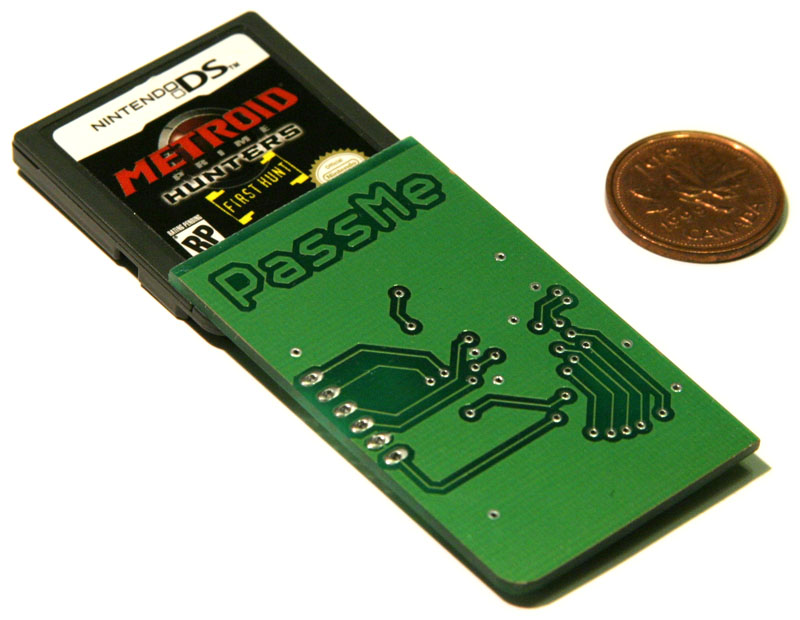
PassMe PCBs have arrived today. This is how they looked once unpackaged:

I have broken them apart and filed down the interconnections:

CPLDs also arrived today. Here is a nice picture of quite a few CPLDs 

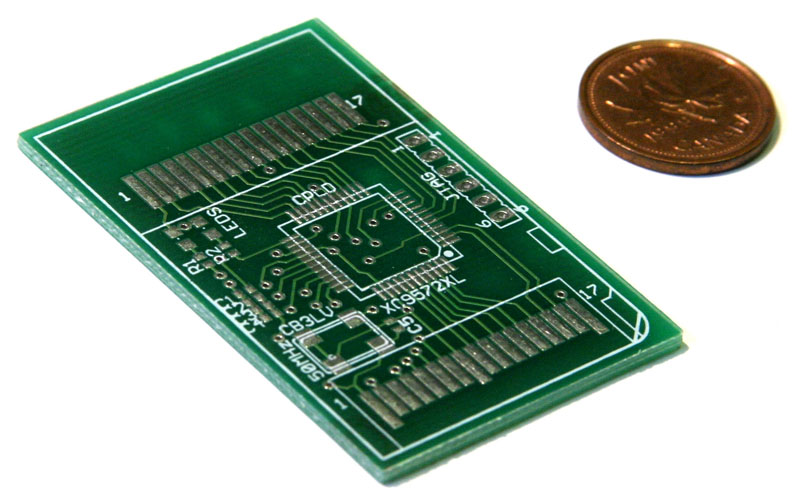
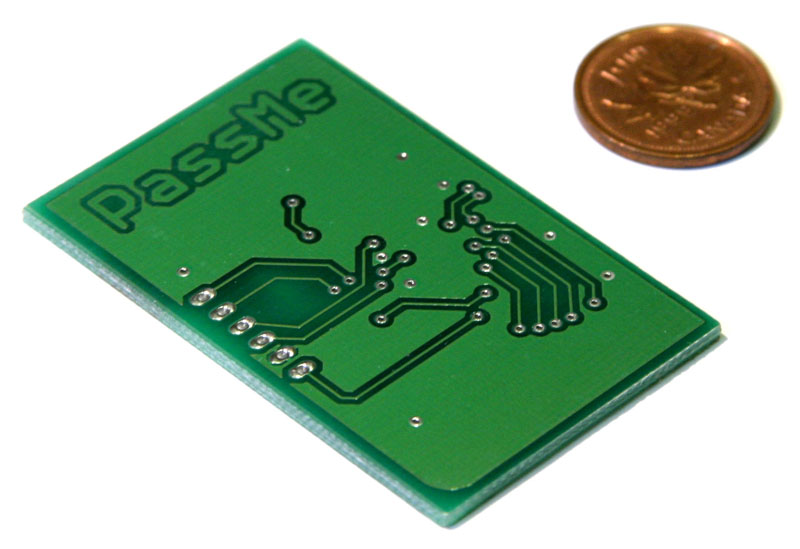
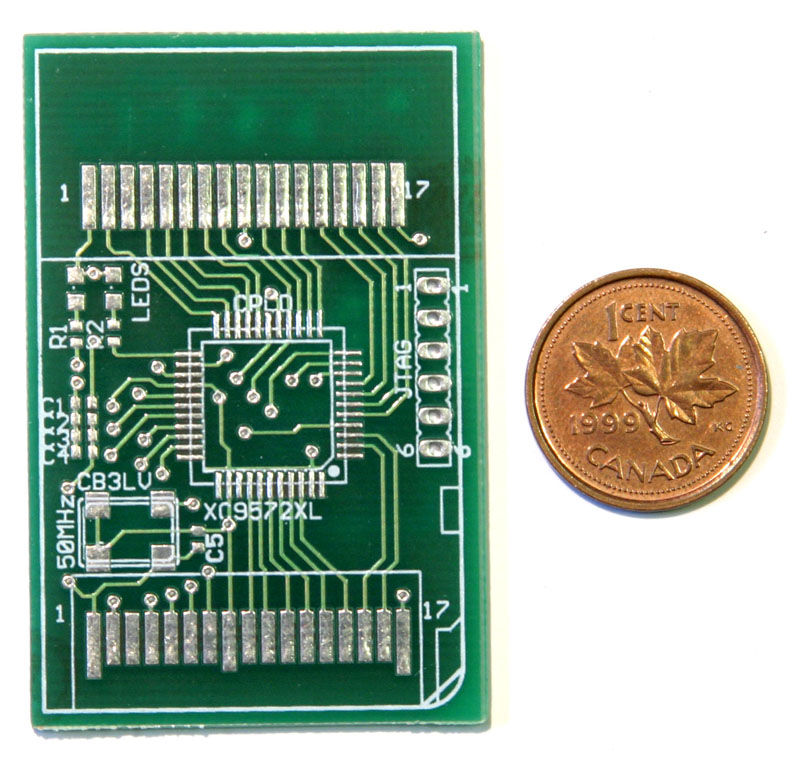
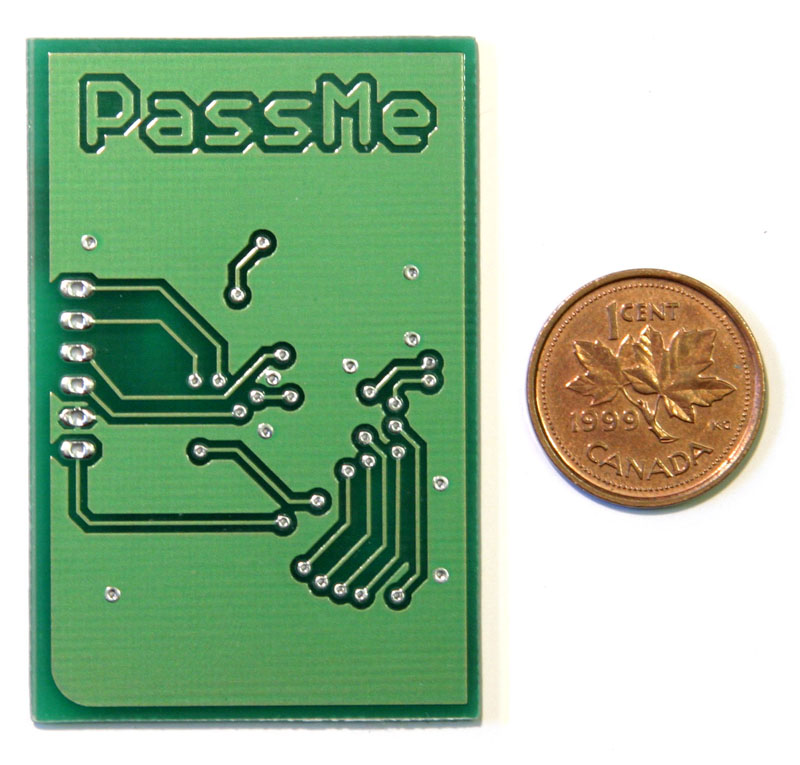
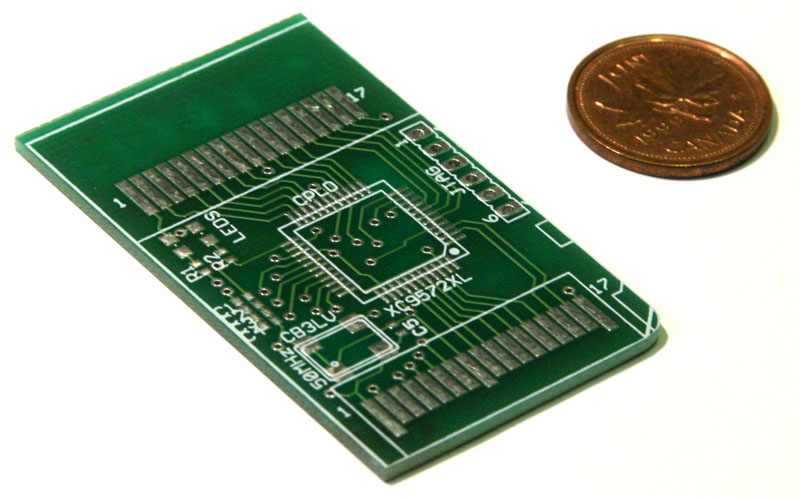
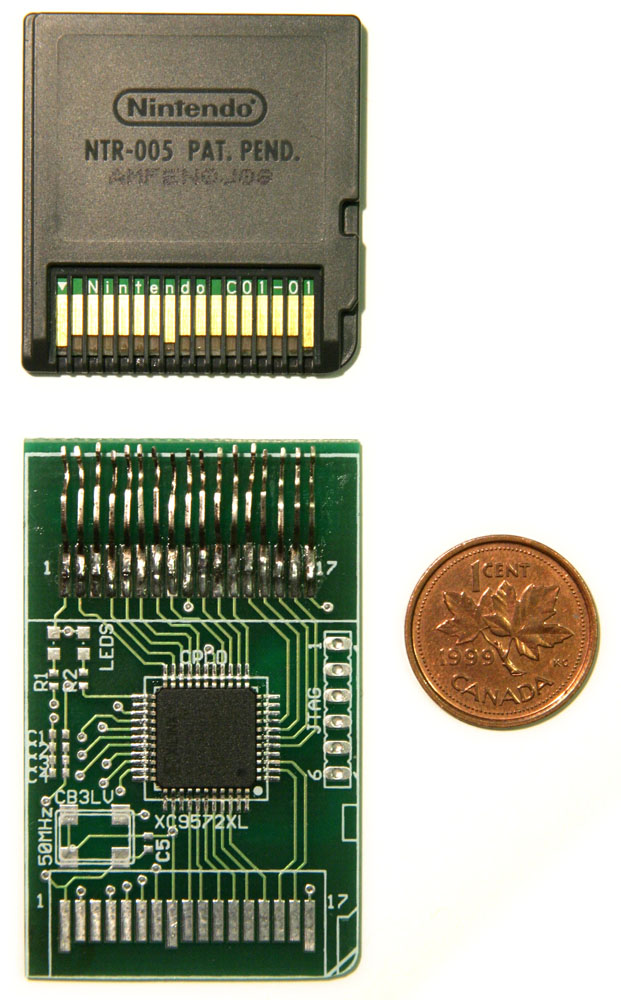
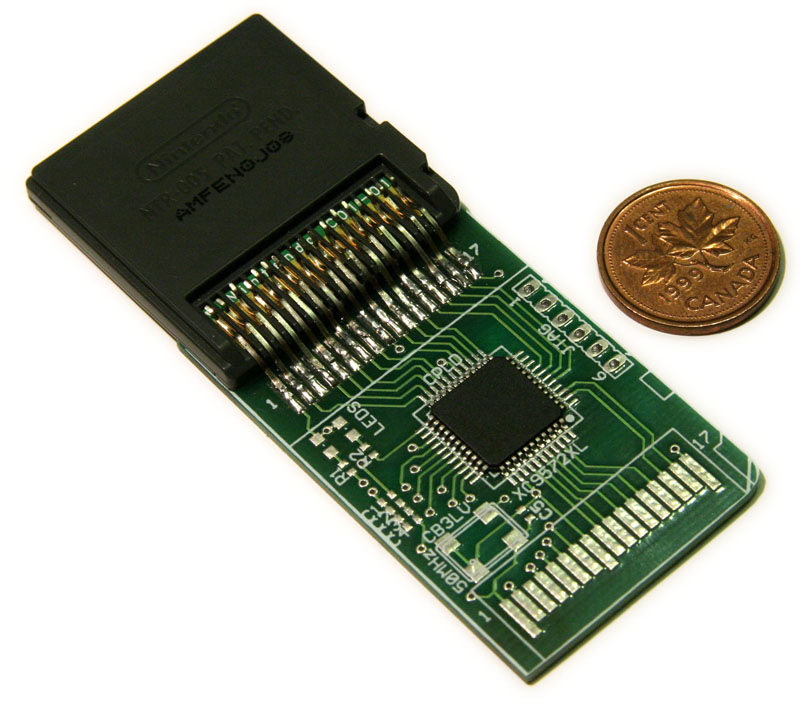
Pictures of single PassMe PCB. All pads are gold-plated:


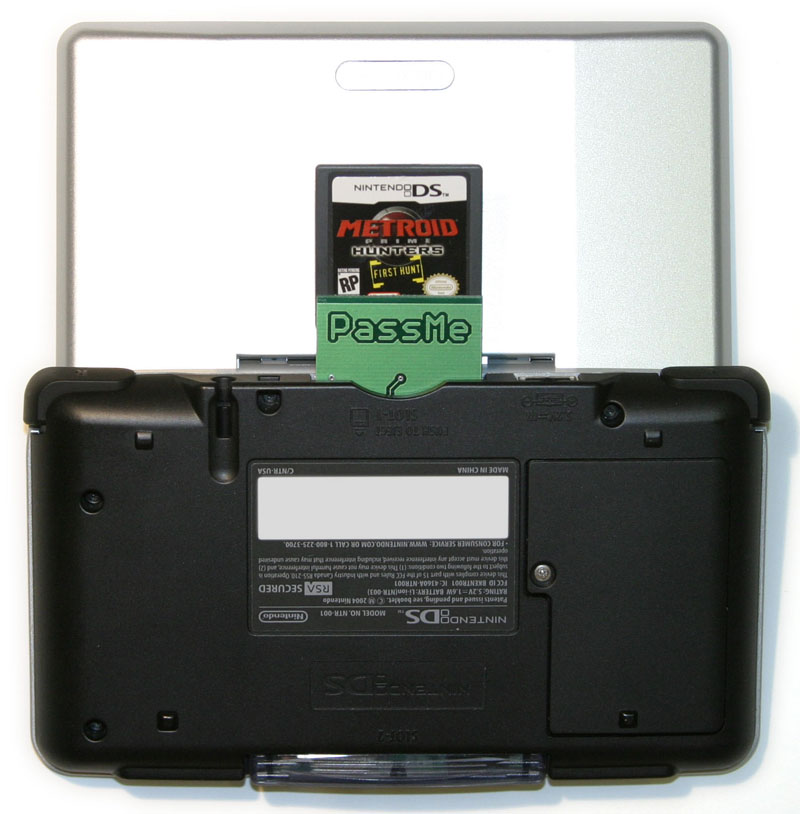
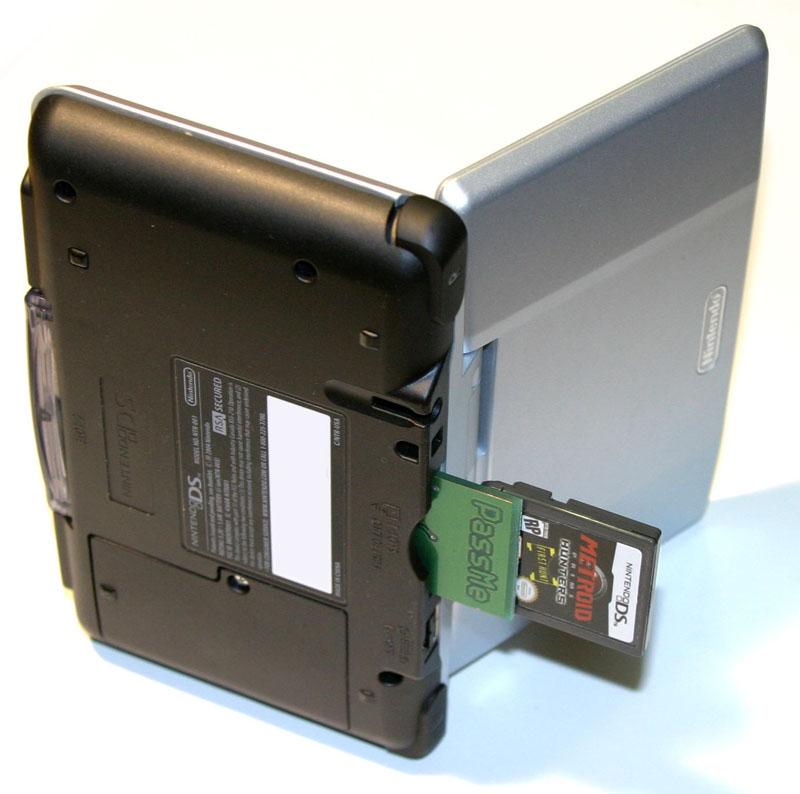
Still waiting for the connectors to arrive and all PassMes I am selling will have real connectors. One PassMe with PCI pins was made to test it:


As expected, everything worked fine. More updates to follow.
Posted in General | 2 Comments »
March 30th, 2005
It’s possible to solder the cart directly to the PassMe PCB.
I took the cart PCB out and glued it to the PassMe. Afterwards, short wires were soldered between the pads. Here are pictures of the result:


Overall, I think gluing the cart is a good idea to achieve robustness (especially if PCI pins are used).
Posted in General | 8 Comments »
March 28th, 2005
Loopy figured out how to read the firmware from the DS.
Here is a program to dump it in blocks of 64KB.
Note: You have absolutely no need for this if you are not a developer.
 firmwaredumper.zip
Posted in General | 8 Comments »
March 20th, 2005
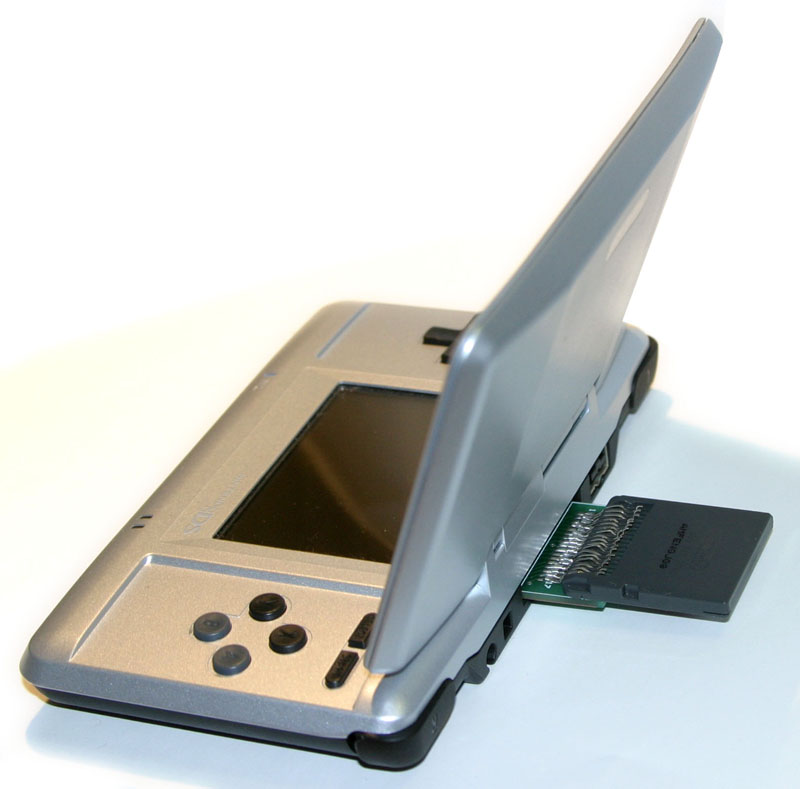
It’s possible to make PassMe click in just like a regular DS cart. You need to superglue a small piece of PCB into the location seen on the following picture.

Posted in General | 2 Comments »
March 19th, 2005
The touchscreen controller in the DS allows to read out pressure of the touch. It should be called pseudo-pressure, really, because it’s based on the the touched area and not on real exerted pressure.
Here is a small demo to show touch pressure. Although an emulator binary is available there is not much use to it.

Source code and PassMe & ARM9 binaries:
underpressure.zip
Posted in General | 3 Comments »
March 19th, 2005
It’s necessary to insulate the back of the PassMe with a sticker or tape. Otherwise JTAG pads or vias could be shorted by touching the metal siding inside the DS slot.
Here is a picture of PassMe with a paper sticker applied to the back side.

Posted in General | 1 Comment »
March 17th, 2005
Here is the first preview edition of my BattleshipDS game.
Graphics are based on this flash game, however all the pixels are mine.
Known issues:
– touchpad code
– sprites can be improved
– no wireless
A few pictures of it running in Dualis follow.


Here is a ZIP with ARM9 and PassMe binaries. No source code is available right now, sorry.
battleshipds.zip
Posted in General | 3 Comments »
March 9th, 2005
DarkFader made new VHDL for the CPLD that makes PassMe work with any DS cart.
Visit his page for the new files.
In addition to CRC16 calculation, his VHDL changes the way ARM9 is taken over. Existing demos should copy ARM9 binary to 0x02004000 as before and then make the ARM9 CPU jump to it by issuing “*(volatile unsigned int *)0x027FFE24 = 0x02004000;” No longer need to overwrite the whole memory with a jump to an ARM9 waiter to capture that CPU. ARM7 starts at 0x080000C0 in GBA cart space as before.
Here is a quick way to make joat’s template boot with the new VHDL:
// In boot/main.cpp change main() to the following
// You can also remove the arm9flag define above main()
int main(int argc, char ** argv) {
LoadBin(GETRAW(arm9_bin), 0x02004000, GETRAWSIZE(arm9_bin));
LoadBin(GETRAW(arm7_bin), 0x02380000, GETRAWSIZE(arm7_bin));
*(volatile unsigned int *)0x027FFE24 = 0x02004000;
CallARM7();
while (1) ;
return 0;
}
Posted in General | 3 Comments »
March 8th, 2005
Hello Slashdot!
Check this out for the current state of DS development.
Slashdot frontpage.
Posted in General | No Comments »
March 8th, 2005
Posted in General | 2 Comments »