
I finally built my PassMe
After quite a few weeks of wait my two boards finally arrived today. This allowed me to build a PassMe right away.
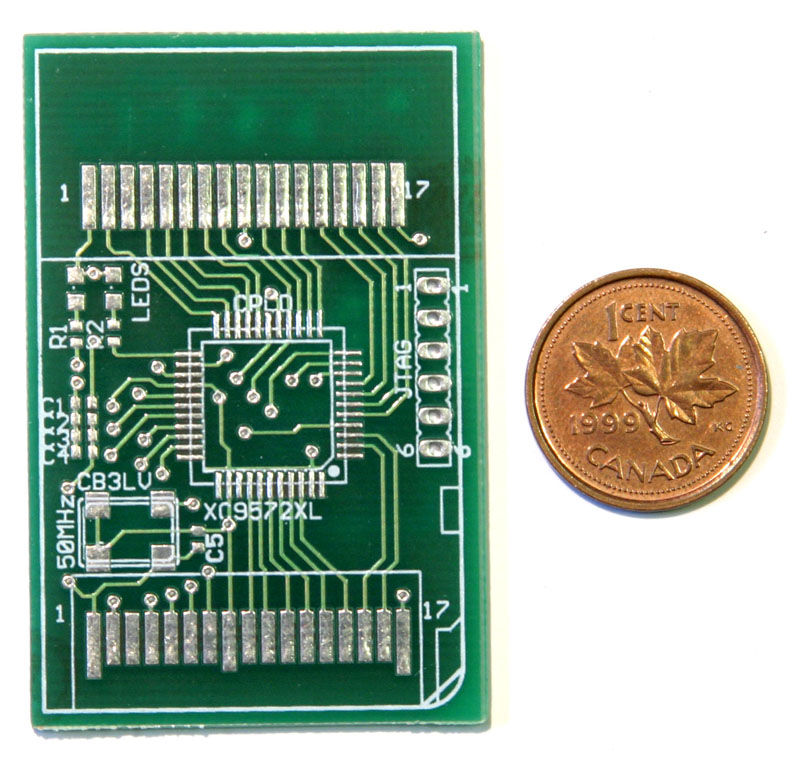
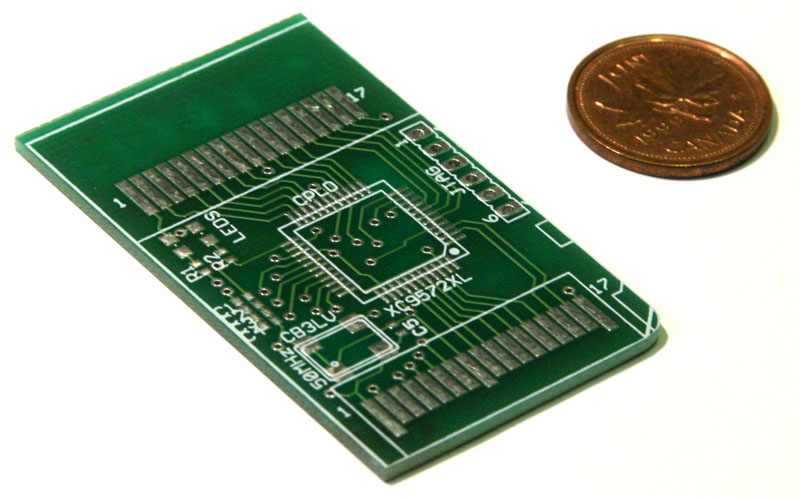
This is how the PCB looked like after it came from manufacture:
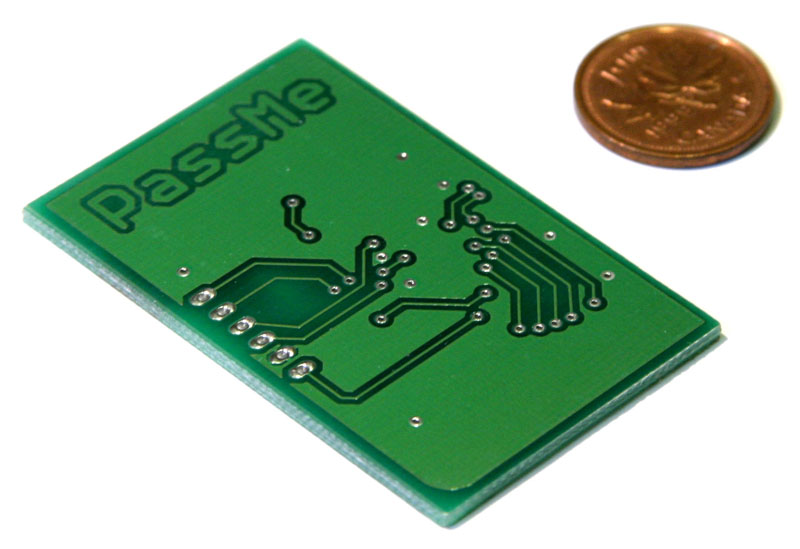
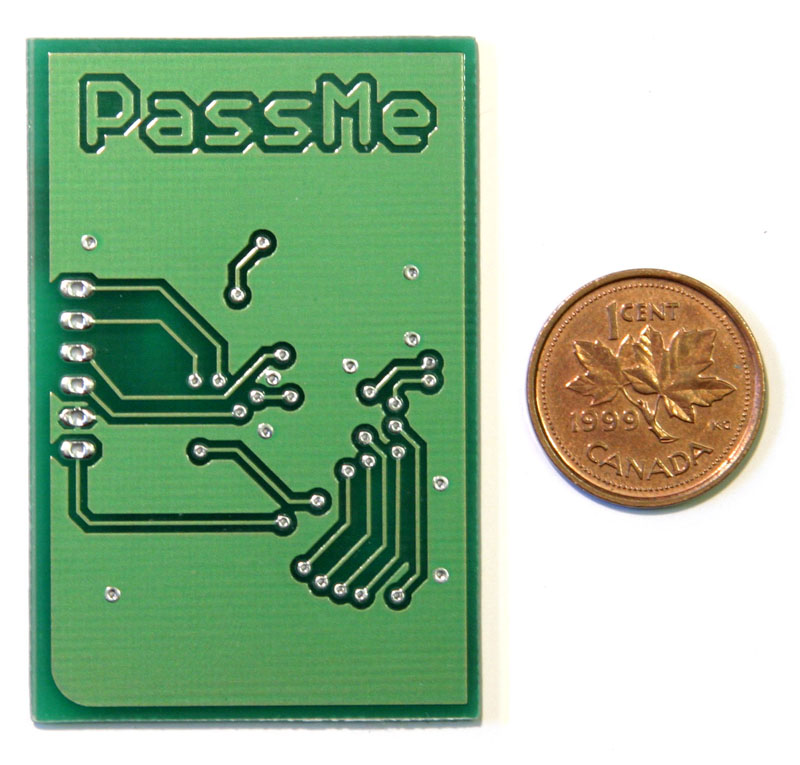
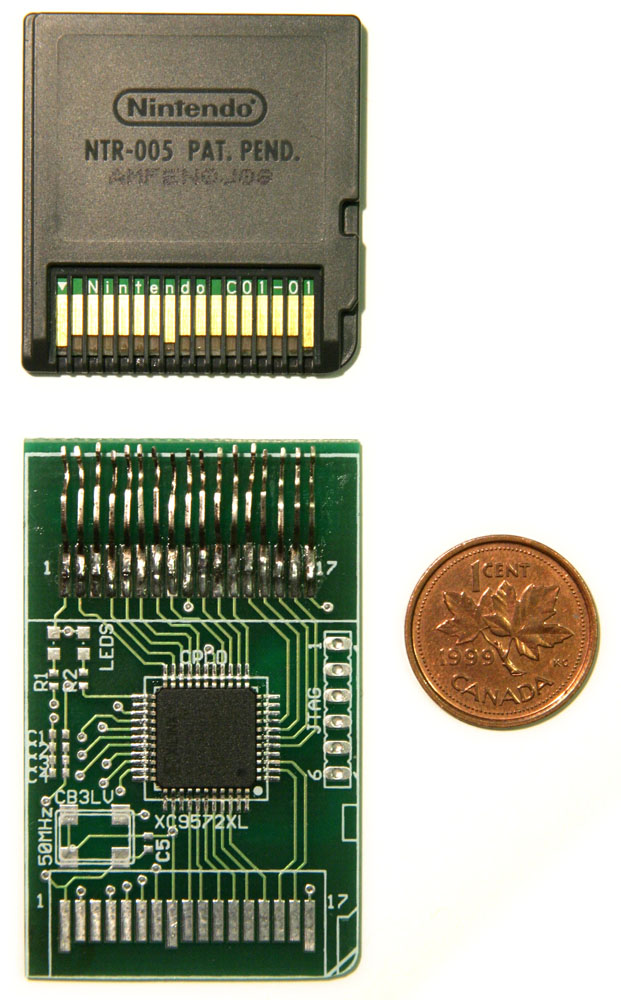
PassMe had an intentional border around the actual cart outline. This was necessary because PCB manufacturers have poor panelizing precision. This border had to be grinded down by hand resulting in the board shown below:
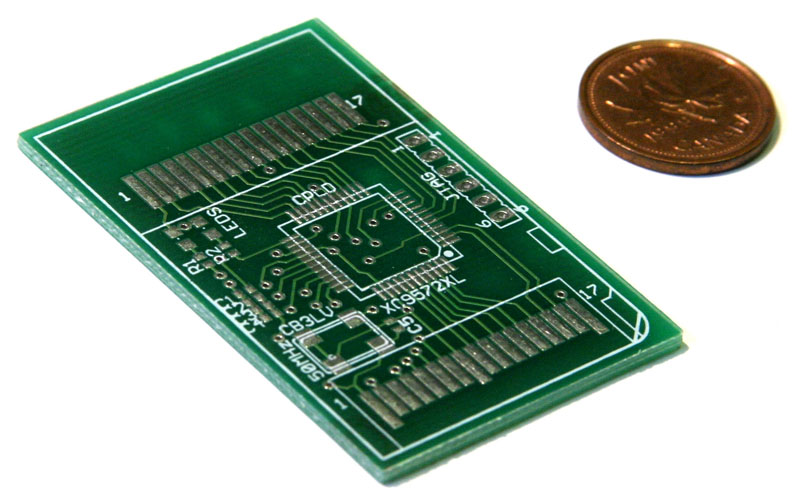
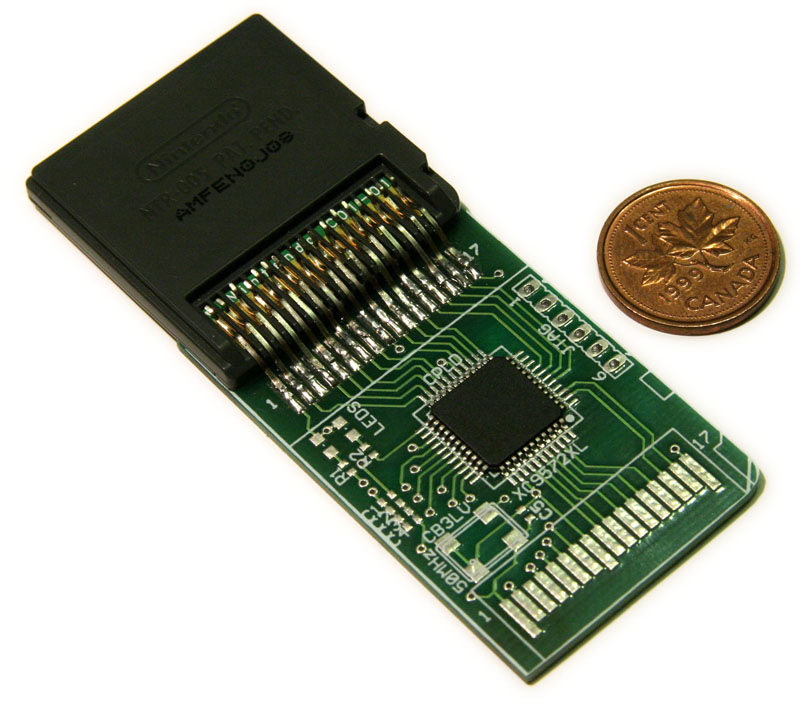
Then the CPLD had to be soldered. Following Lynx’s suggestion, I simply added flux to the pads, positioned the CPLD and touched each pin with the soldering iron. Since the pads were tinned by the manufacturer, no additional solder was necessary. The pins for the cart connector came from a PCI connector and had to be soldered individually. They hold the cart in place quite firmly. A second option would have been to glue the cart to the PCB and solder small jumper wires in between. Here is the finished board ready to be programmed:

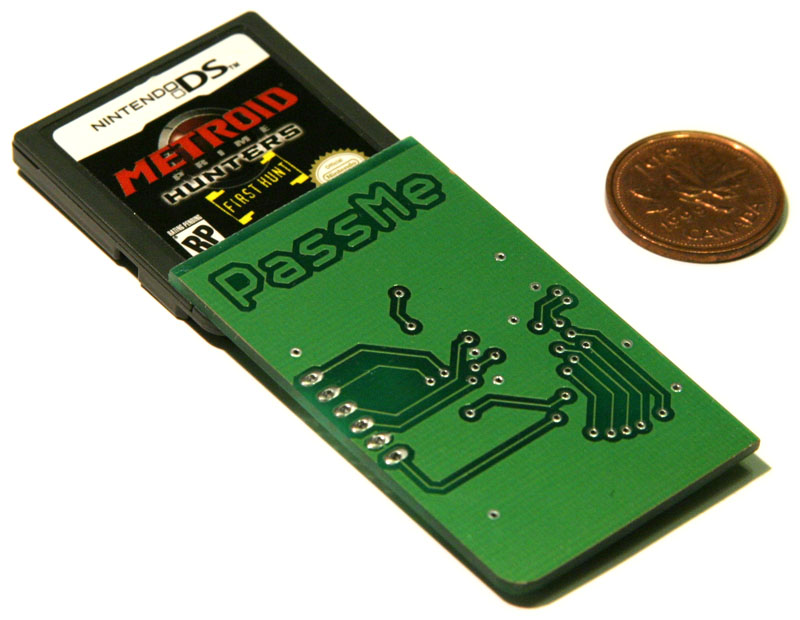
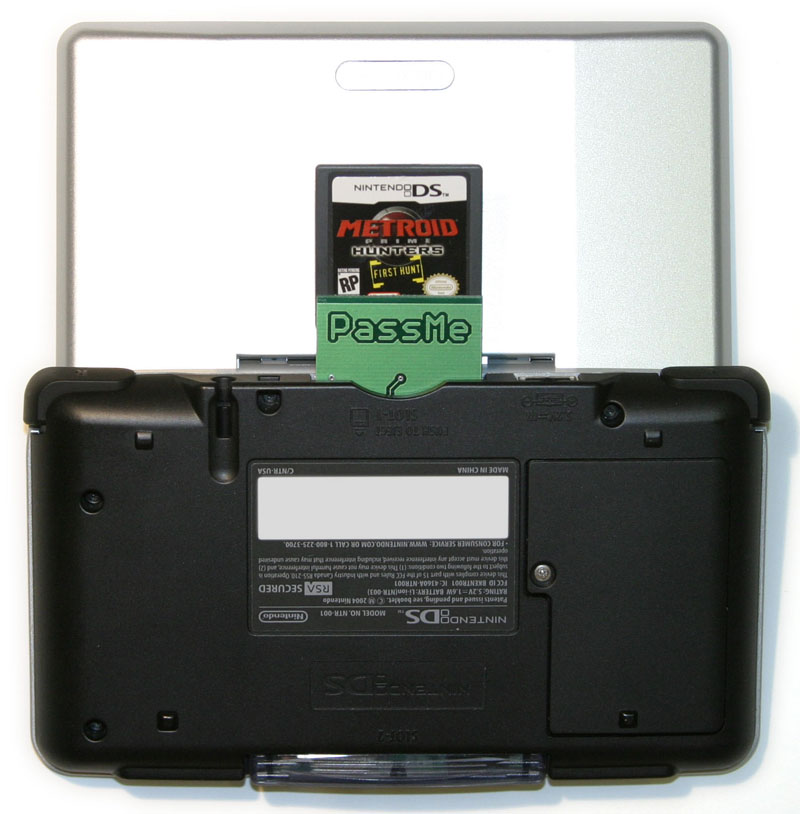
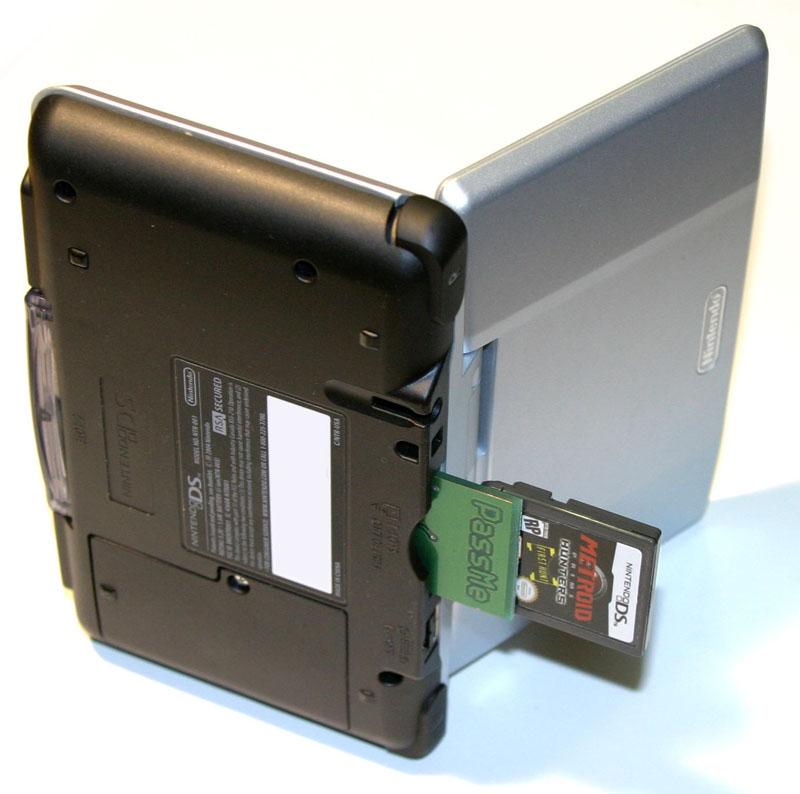
Now the CPLD was programmed using the VHDL from passme1.4.zip and the free Xilinx ISE WebPACK software. Here are a few pictures of the finished PassMe with Metroid cart inserted:


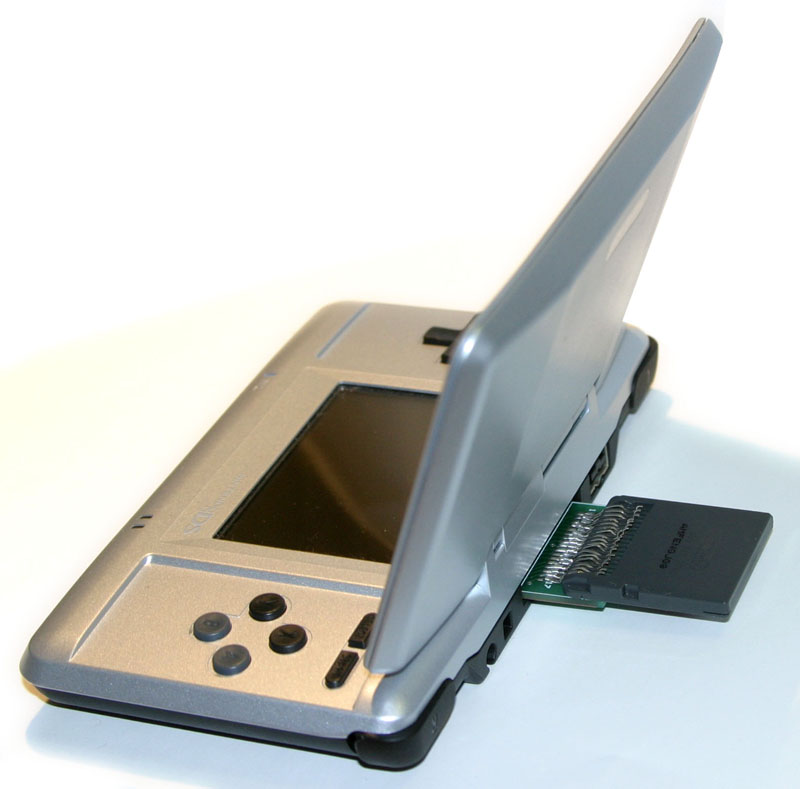
Here some more pictures of my DS with PassMe and GBA flash cart inserted. This setup lets me run all homebrew demos and is much more portable than my older FPGA setup.
March 22nd, 2005 at 12:05 am
How likely is the Metroid cart to come off of the PassMe unit itself? And also, can anyone think of a way to cover the exposed area where the pins of the Metroid cart/PassMe are exposed?
April 1st, 2005 at 3:18 pm
Why do I get blank screens after the NDS boot.?