Main Weblog Projects Downloads Contact Links
Wiki Gallery

Weblog

Archive for the ‘General’ Category

I finally built my PassMe

Tuesday, March 8th, 2005

After quite a few weeks of wait my two boards finally arrived today. This allowed me to build a PassMe right away.
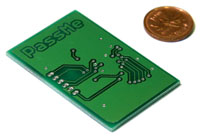
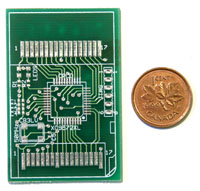
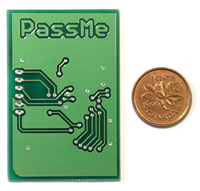
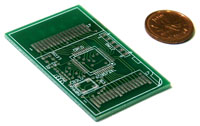
This is how the PCB looked like after it came from manufacture:
PassMe PassMe PassMe PassMe
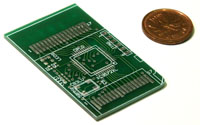
PassMe had an intentional border around the actual cart outline. This was necessary because PCB manufacturers have poor panelizing precision. This border had to be grinded down by hand resulting in the board shown below:
PassMe
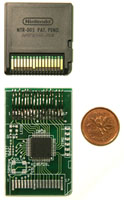
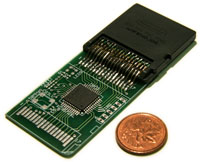
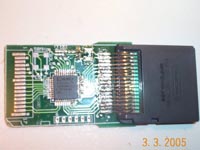
Then the CPLD had to be soldered. Following Lynx’s suggestion, I simply added flux to the pads, positioned the CPLD and touched each pin with the soldering iron. Since the pads were tinned by the manufacturer, no additional solder was necessary. The pins for the cart connector came from a PCI connector and had to be soldered individually. They hold the cart in place quite firmly. A second option would have been to glue the cart to the PCB and solder small jumper wires in between. Here is the finished board ready to be programmed:
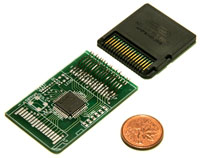
PassMe PassMe
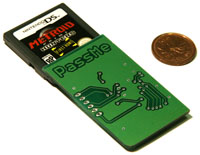
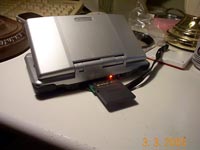
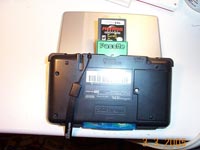
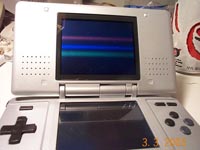
Now the CPLD was programmed using the VHDL from passme1.4.zip and the free Xilinx ISE WebPACK software. Here are a few pictures of the finished PassMe with Metroid cart inserted:
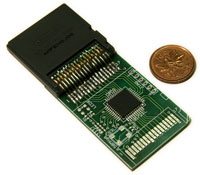
PassMe PassMe PassMe PassMe
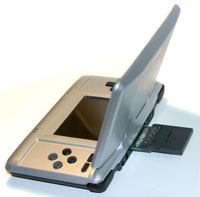
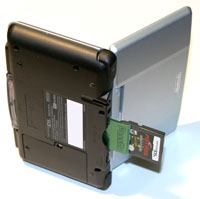
Here some more pictures of my DS with PassMe and GBA flash cart inserted. This setup lets me run all homebrew demos and is much more portable than my older FPGA setup.
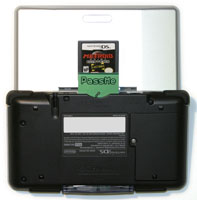
PassMe PassMe PassMe

PassMe Design Files (v1.4)

Saturday, March 5th, 2005

Here are the latest files for the double sided version. The PassMe design has been built and tested.

  • Schematic, Board and Library for CadSoft EAGLE (free version here)
  • Gerber files for PCB proto
  • VHDL code for the CPLD

passme1.4.zip passme1.4.zip
First PassMe Working!

Friday, March 4th, 2005

Lynx got his PassMe to work!
He is making a detailed How-To that will be published on www.dspassme.com
Videos of his setup working are availabe here and here.

See a few pics of the board made by Lynx below:

 lynxpassme2.jpglynxpassmerunning01.jpglynxdsback01.jpglynxtwoscreen02.jpg

PassMe Prototype

Wednesday, March 2nd, 2005

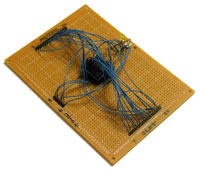
I am still waiting for my PassMe board from manufacture. So far people who received the boards could not get them to work. This is why I decided to build PassMe on a prototype board using the same schematic diagram.

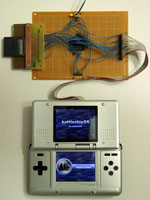
Using a PLCC version of the same CPLD chip (PLCC is bigger in size compared to VQFP), I assembled the board and tested it by running my battleshipDS game. Everything worked the first time. Some pictures are provided below.

Please bear in mind that this does not mean that the real PassMe board has zero bugs. But at least it proves that the concept is fine!

This blog will be updated when the tiny PassMe PCB is tested and works.

cpld-overview-small.jpg cpld-components-small.jpgcpld-board-small.jpg

Single Layer PassMe

Saturday, February 12th, 2005

Disclaimer: This design is untested and unproven!

People have requested a single layer version so here it is. There is one air wire for VDD which needs to be soldered. Also, the JTAG connector had to be removed. JTAG wires should be soldered for programming and testing and clipped off afterwards.

Here is the PCB rendered with Eagle3D & Pov-Ray:

pcbsingle.jpg

Here is the EAGLE BRD file:

passmesingle.zip passmesingle.zip

Preliminary PassMe Design Files

Monday, January 31st, 2005

Disclaimer: This design is untested and unproven! I recommend holding off your PCB order until we build and test it.

Here is the file containing:

  • Schematic, Board and Library for CadSoft EAGLE (free version here)
  • Gerber files for PCB proto – corrected in 1.2
  • VHDL code for the CPLD

Consider this preliminary information until the design has been tested. You may, for example, use the EAGLE library with precise drawings of NDS card for your own designs. Recommended PCB manufacturer is SparkFun at $7.5 for the board (free shipping to U.S.).

There was a spurious trace in the library for the CPLD part. It will have to be cut in version 1.2. Corrected in 1.3.

passme1.3.zip passme1.3.zip   partlist.txt partlist.txt
Design of small CPLD passthrough

Monday, January 31st, 2005

I have designed a small and simple passthrough using a CPLD (Complex Programmable Logic Device). Expected cost is $30 in parts. Lynx is going to build and test it in about 2 weeks since this is how long it takes to receive a custom PCB. The schematics and other files will be soon posted on this weblog for your amusement. Detailed How-To will be published after the board is made.

PassMe uses VHDL code based on DarkFader’s passthrough.

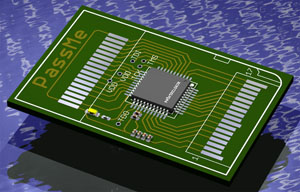
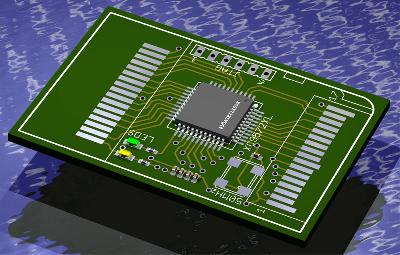
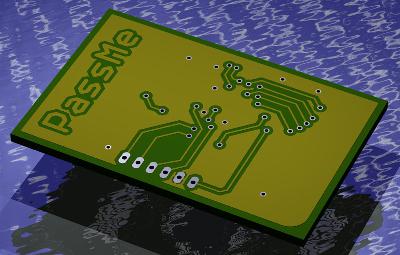
For now, here are rendered pictures of top and bottom sides of the PCB:

pcbtop.jpg pcbbottom.jpg

My FPGA Passthrough

Wednesday, January 26th, 2005

The breakthrough for running custom code on the DS came when DarkFader found out that he could make the DS jump to the GBA cart by modifying the ARM7 vector and adjusting the CRC16 in the Metroid header with his passthrough setup. This allowed him to take over the ARM7 which was at that time running in DS mode (i.e. with access to DS specific hardware). The custom ARM7 code could then load ARM9 code into memory and then take over the ARM9. As a result, DS homebrewing became a reality.

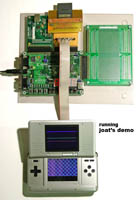
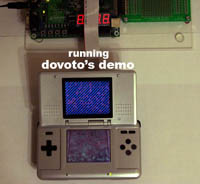
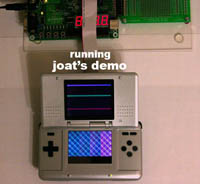
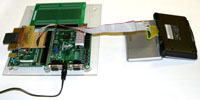
Not willing to wait any longer, I decided to make my own passthrough. My reference was DarkFader’s VHDL code which I simplified a bit (removed capturing code, BRAM, GBA simulation). My passthrough uses a Xilinx Spartan-3 FPGA dev kit avaiable at Digilent.

Joat and Dovoto (two well-known GBA developers) made two demos which show the DS running custom code in the DS mode. They both have made nice FPGA passthrough setups as well. Visit their pages for pictures and videos.

Here are pictures of my setup running Joat’s and Dovoto’s demos.

pass_overview_downside_small.jpg pass_overview_small.jpgpass_demo_dovoto_small.jpgpass_demo_joat_small.jpg

Making the DS Cart Adapter

Wednesday, January 5th, 2005

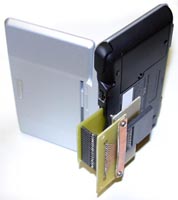
I made a card adapter which goes into the NDS card slot. Electrical connections were tested by mating it to the cart connector and running SM64.

card_adapter_small.jpg card_test_1_small.jpg

Making the DS Cart Connector

Wednesday, December 29th, 2004

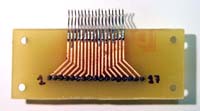
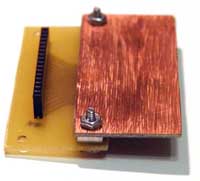
Here are a few pictures of how my cart connector was made. It consists of an etched PCB, two drilled PCBs, a connector and 17 pins salvaged from a PCI connector. card_adapter_1_small.jpg    card_adapter_2a_small.jpg    card_adapter_3_small.jpg


© 2010 Alexei Karpenko (natrium42)